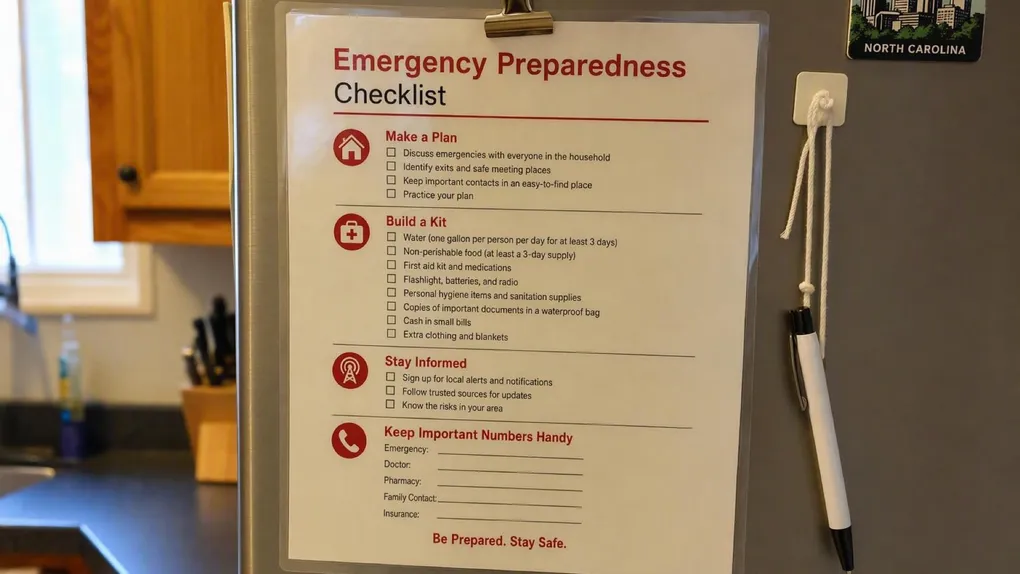
Prepping for anything: The master checklist
The household that came through the flood with an insurance check in weeks and no injuries had one thing the neighbors did not: a laminated page on the refrigerator that both adults had actually walked through, twice. When the water came, nobody debated who called the out-of-state contact, where the kit was, or what a “watch” meant. The page answered before the panic asked. The neighbors, decent and intelligent people, spent the same storm improvising, and improvisation under adrenaline is how prepared households become statistics.
Over the last six articles, we have walked the entire citizen preparedness framework, from knowing your risks to making a plan, building a kit, taking action, receiving warnings, and recovering from disaster. We have moved from the theoretical to the tactical. But knowledge alone is not enough, it must be accessible when the siren sounds and the power is out.
In a crisis, “cognitive fragmentation” sets in. You will forget things you know perfectly well. You might remember the water but forget the documents. You might remember the plan but forget the out-of-state contact.
This Master Checklist is your external brain. It consolidates the entire series into a linear, chronological protocol. Print this out. Laminate it. Keep it on the refrigerator. It is the script that ensures you don’t just hope for the best, you execute a professional-grade response to the worst.
Disclaimer: The information provided in this article is for general informational and educational purposes only. It is not intended as, and should not be considered, professional, legal, insurance, or emergency-response advice. Always follow the instructions of local authorities and emergency officials during an active event.
Phase 1: Know Your Risks (Blue Sky)
Goal: Name the hazards you face.
- The hazard list: write down the top three hazards for your area.
- The official check: visit your state and local emergency management websites.
- The alert signup: subscribe to your community’s alert and warning systems.
- The neighbor conversation: ask a long-time neighbor what they prepare for.
- The training: sign up for a CPR or first aid course.
Phase 2: Make a Plan
Goal: Decide in advance how your family will find each other.
- The out-of-state contact: choose one and record two ways to reach them.
- The meeting places: pick one nearby and one farther away.
- The wallet cards: print and distribute copies of the plan.
- The pet plan: research pet-friendly shelters or boarding options.
- The drill: practice the plan like a fire drill, at least once a year.
Phase 3: Build Your Kit
Goal: Assemble supplies for the first 72 hours.
- Water: one gallon per person per day, three days minimum.
- Food: non-perishable, enough for several days.
- Radio + flashlight: with extra batteries.
- First aid + whistle + N95 masks.
- Cash + documents + local maps.
- Home, work, and vehicle kits.
- The refresh: rotate and update every six months.
Phase 4: Take Action
Goal: Turn the plan into protection.
- The policy review: read your insurance policy and note the gaps.
- The flood check: determine if you need flood insurance.
- The inventory: photograph and document your belongings.
- The mitigation: complete at least one DIY mitigation step.
Phase 5: Receive Warnings
Goal: Make sure alerts reach you.
- The signups: subscribe to every local alert system.
- The WEA check: enable Wireless Emergency Alerts on all phones.
- The radio: buy a NOAA weather radio with battery backup.
- The household list: make sure everyone is subscribed.
Phase 6: Recover Safely
Goal: Survive the aftermath.
- The all-clear: wait for official permission to return.
- The safety check: inspect for gas, electrical, and structural hazards.
- The claim: contact insurance and document all damage.
- The fraud guard: verify IDs and never pay for “free” help.
Final Tips
- Print this checklist: keep a physical copy on the refrigerator.
- The family drill: practice the plan and the kit together.
- The neighbor pact: know which neighbors you can count on, and agree to check on each other.
Next Steps
- Print the Master Checklist you are reading now, laminate it, and hang it where the family eats.
- Run the one-evening audit: hazard list, out-of-state contact, kit check, policy exclusions. Four boxes on a calm night is the whole blue-sky load.
- Start the series from the beginning with Part 1: Know your risks if any line here made you pause, because the reasoning behind every box lives in the six parts.
Adapted from FEMA Ready.gov “Are You Ready?” (public domain).