Light Search and Rescue
The first responders to every collapse in history have been spontaneous, untrained, well-intentioned people who rushed to the rubble. CERT Unit 7 exists to make sure that energy finds survivors instead of making new ones. Search and rescue divides into three operations: size-up (assessing the situation and determining a safe action plan), search (locating survivors and documenting their location), and rescue (the extrication methods). This post distills Unit 7.
Disclaimer: The information provided in this article is for general informational and educational purposes only. It is not professional rescue training. Structural rescue is dangerous hands-on work. Take CERT training and work within your capability.
The Readiness Audit
Would your first move at a collapse be a lap around the building?
- Green: You know the nine-step size-up, the six-sides rule, and how to build a box crib.
- Yellow: You would start digging.
- Red: You would send someone inside to look around.
If you are Yellow or Red, execute Phase 1 immediately.
Phase 1: The Nine-Step Size-Up
Goal: Learn the assessment that prevents rescuer deaths.
Unit 7’s size-up model runs: (1) gather facts (time of day, construction type, occupancy including children, elderly, pets, and people with access and functional needs, weather, hazards, and hazardous materials), (2) assess and communicate the damage (take a lap around the building, decide whether damage is beyond CERT capability, and communicate the initial damage assessment to the appropriate people), (3) consider possibilities (is the situation stable, what else could go wrong), (4) assess your own situation (what personnel and equipment are available), (5) establish priorities (can CERT volunteers attempt a search and rescue safely, and if no, do not attempt), (6) make decisions (where will deployment do the most good while maintaining an adequate margin of safety), (7) develop a plan of action, (8) take action, and (9) evaluate progress, continually sizing up changes in scope, safety risks, and resource availability.
The Takeaway: Step 5 is the gate. “Can we attempt this safely” answered no means no, because a trapped rescuer doubles the casualty count and halves the search force.
Phase 2: The Search
Goal: Search systematically so nobody is missed.
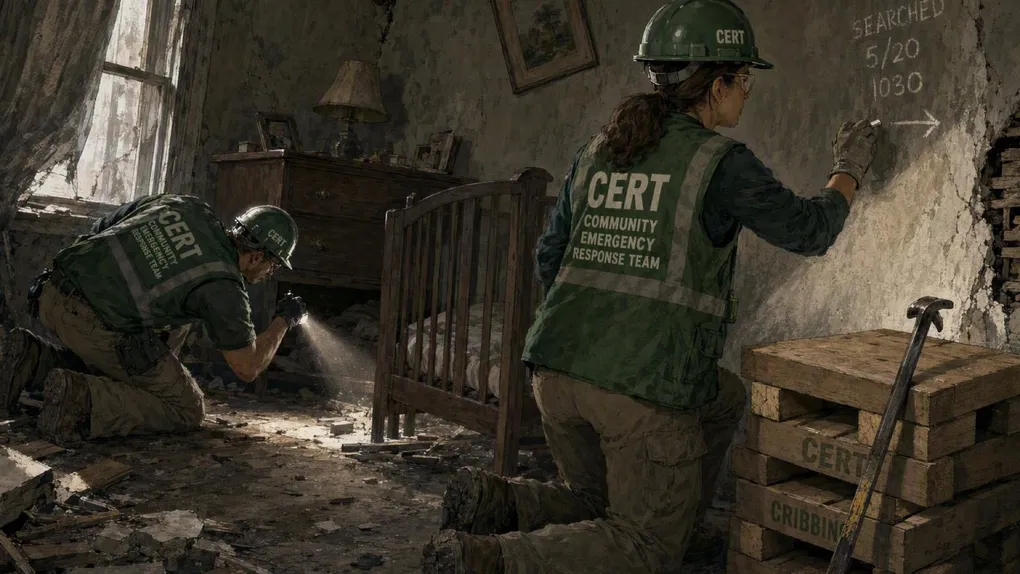
Keep your directions simple and use a systematic search pattern that covers all areas of the building. The manual’s examples: bottom-up/top-down, and right wall/left wall. Every interior space has six sides, including the floor and ceiling, and rescuers must check all six sides to locate hazards and survivors. Mark what you find so the next team and the professionals can read the picture you leave behind.
The Takeaway: The pattern is the discipline. Random searching wastes the one resource you cannot replace, and the six-sides rule is how survivors hiding under beds or in closets get found.
Phase 3: Rescue, Leveraging, and Cribbing
Goal: Free survivors without adding casualties.
The basic types of survivor removal are self-removal or assist, and lifts and drags. It is usually best to allow an ambulatory survivor to extricate themselves, with the warning that ambulatory survivors are not always as strong and free of injury as they believe. Lifting discipline: carry the load close to the body, lift with the knees with the back straight, and lift and carry no more than is reasonable. Remove debris as needed to minimize risk to rescuers and free entrapped survivors.
When moving debris is needed, the tools are leveraging and cribbing. Leveraging means wedging a lever under the object that needs to be moved, with a stationary object underneath acting as a fulcrum, so forcing the lever down lifts the object. A crib is a wooden framework used to stabilize the load: position two pieces of wood parallel on either side of the collapse, place two pieces perpendicularly across the base, and add additional layers with each perpendicular to the previous level. The rescuer closest to the survivor’s head coordinates the lift.
The Takeaway: Leverage lifts, cribbing holds, and the head-end rescuer runs the count. This is slow, deliberate work, and it is the only kind that ends with both the survivor and the rescuer walking out.
The Essential Kit Checklist
- The Crib Kit: 4x4 lumber sections staged for box cribbing, plus a pry lever.
- The Gloves and Helmet: PPE for debris work, because rescuer injury ends the rescue.
- The Marking Supplies: Paint or lumber crayon to mark searched structures and survivor locations.
- The Nine-Step Card: The size-up questions printed on a card in the go-kit.
- The Water: Rescuers dehydrate as fast as survivors, and the response ends when the rescuers do.
Scenario Planner (Contingencies)
“We can hear someone, we are going in.” The trap: entering an unstable structure without size-up, the classic second-collapse casualty pattern. The fix: run the nine steps, and let step 5 gate the entry. Communicate the assessment up the chain while you work.
“The debris is too heavy to lift by hand.” The trap: deadlifting a slab with backs and adrenaline. The fix: leverage and cribbing turn one person’s strength into a system. Lift an inch, crib an inch, repeat.
Next Steps
- Re-run the Readiness Audit. Scroll back to the top, answer the three questions honestly, and close whichever gap they reveal before you close this tab.
- Print the checklist. The kit list above only works if it exists when the power is out, so paper beats apps here.
- Fold it into the family plan. A prepared household beats prepared person, so put these steps in front of everyone who shares your roof.
Next: Read Terrorism Awareness for Volunteers for Unit 8’s eight signs and the CERT role in a terrorist incident.
Adapted from FEMA - CERT Basic Training (public domain). Read the original: CERT Basic Training Participant Manual (2019).