Prepping for a blizzard checklist
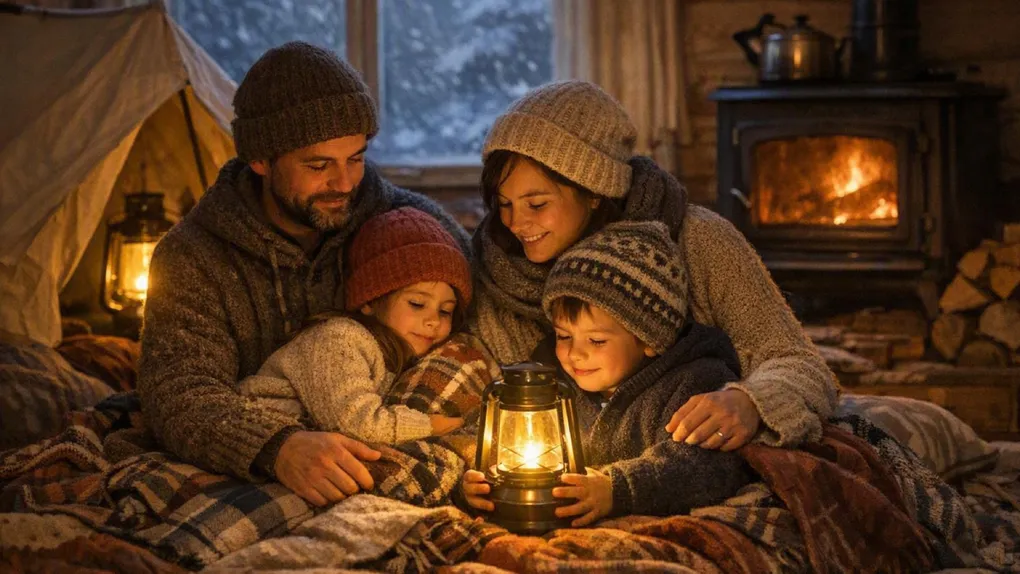
The family that survived the weeklong blackout kept their sleeping bags staged in the warm-room tent, their car kit in the trunk all season, and a laminated copy of their plan taped inside a kitchen cabinet. When the power died at 2 a.m. in single-digit cold, they did not discuss what to do. They executed a script they had already written, and the only debate in the house was whose turn it was to check the tailpipe protocol on the car. That is what this page is for.
Over the last six articles, we have dissected the threat of extreme cold, from the thermodynamics of heat loss to the physiology of “heart attack snow.” We have moved from understanding the enemy to building the fortress. But knowledge alone is not enough, it must be accessible when the power dies and the temperature inside your home starts to plummet.
In a crisis, panic and cold fog your thinking. You might remember where the sleeping bags are but forget to clear the car’s tailpipe. You might remember to layer your clothes but forget to check the carbon monoxide detector.
This checklist is your external brain. It consolidates the entire winter storm preparedness series into a linear, chronological protocol. Print this out, keep a copy in your warm room kit and another in your vehicle. It is the script that ensures you don’t just freeze in the dark, you endure with confidence.
Disclaimer: The information provided in this article is for general informational and educational purposes only. It is not intended as, and should not be considered, legal, medical, or architectural advice. Winter risks vary by region. Always consult with local emergency management officials and professionals.
Phase 1: Blue Sky Readiness (Seasonal Prep)
Goal: Harden the house and the car before the first storm watch.
Home hardening:
- Perform the candle test on windows and doors to find drafts.
- Apply window insulation film (shrink wrap) and door draft snakes.
- Install foam insulation on exposed pipes in unheated areas.
- Locate and tag the main water shut-off valve.
- Have wood stoves and fireplaces professionally inspected and cleaned.
Vehicle readiness:
- Switch to winter-grade oil and washer fluid.
- Inspect tread depth or install winter tires and chains.
- Build the trunk kit: wool blankets/sleeping bag, metal coffee can + candle + lighter, folding shovel + cat litter, red bandana.
Phase 2: Gray Sky Readiness (The Watch/Warning)
Goal: Mobilize supplies and stage the warm room.
Logistics:
- Fill vehicle gas tanks (weight for traction + emergency heat).
- Exchange and fill propane tanks for indoor-safe heaters.
- Stock high-calorie, no-cook foods (nuts, jerky, cheese).
- Fill bathtubs (for flushing) and pitchers (for drinking).
- Refill essential prescriptions (two-week supply).
Staging the warm room:
- Select a small, central, south-facing room.
- Hang blankets over doorways to trap heat.
- Pitch the camping tent (or build the fort) inside the room.
- Line the floor with foam pads and pile sleeping bags inside.
Phase 3: Black Sky Response (The Blizzard/Blackout)
Goal: Manage the body, the room, and the car.
Body management:
- Wear the three-layer system (base synthetic, mid fleece, shell windproof). No cotton.
- Eat high-fat snacks frequently to stoke metabolism.
- Drink warm liquids, never eat snow (melt it first).
Home management:
- Leave the furthest faucet dripping and open cabinet doors under sinks.
- Use indoor-safe heaters with a cracked window for air.
- Place a battery-operated CO detector in the warm room.
- Open curtains on south windows during the day, cover them at dusk.
Vehicle survival (if stranded):
- Stay put, do not walk into a whiteout.
- Clear snow from the tailpipe before starting the engine.
- Run the engine 10 minutes per hour, cracking a window while running.
- Tie a red cloth to the antenna and turn on the dome light at night.
Phase 4: The Recovery (The Thaw)
Goal: Survive the cleanup and protect the structure.
Shoveling safety:
- Stretch inside before going out.
- Push snow, don’t lift, take breaks every 15 minutes.
- Stop immediately if you feel chest tightness or nausea (heart attack risk).
Structural check:
- Clear snow from furnace and dryer intake vents outside.
- Use a telescoping roof rake to clear eaves if snow load is heavy.
- Use the pantyhose hack (calcium chloride) to create drainage channels if ice dams appear.
The Print Protocol
- Print this post: batteries die in the cold, and paper does not.
- Laminate or bag: place the printed sheets in a waterproof ziplock bag inside your warm room kit.
- Share: send a digital copy to your out-of-area contact so they know your protocol.
Next Steps
- Print the Blizzard Survival Checklist you are reading now, two copies: warm room kit and car.
- Do the Phase 1 checklist this week: one candle test and one trunk kit. That is the two highest-leverage boxes on a calm day.
- Start the series from the beginning with Part 1: The thermodynamics of survival if any line here made you pause, because the reasoning behind every box lives in the six parts.