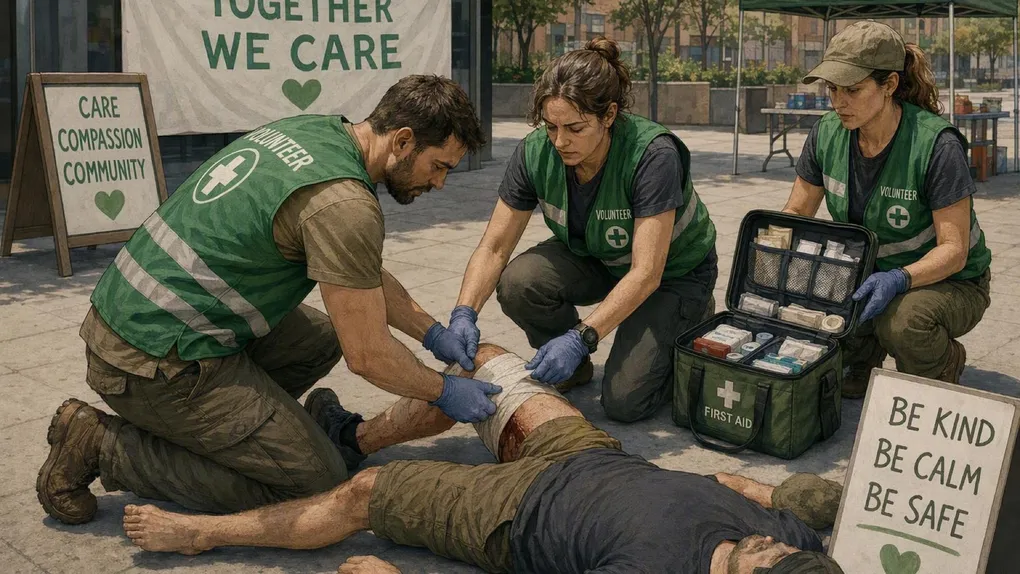
Disaster Medical Operations: The Life Threats
The average person has about five liters of blood. Lose roughly half of it and, as CERT Unit 3 puts it, no matter what anyone does, death is unavoidable. That is why disaster medical operations start with bleeding, not comfort. Units 3 and 4 of the CERT manual teach the life-saving steps volunteers can take immediately following trauma while waiting for help that may be days away. This post covers Unit 3: the life threats and how to buy time against them.
Disclaimer: The information provided in this article is for general informational and educational purposes only. It is not medical advice and is not a substitute for formal first aid training. Take a certified first aid and CPR course, and follow the instructions of emergency medical professionals.
The Readiness Audit
Could you stop a severe bleed and open an airway without a book?
- Green: You have first aid training, a kit with pressure dressings, and you know the jaw-thrust maneuver.
- Yellow: You know to call 911 but not what to do in the minutes before help.
- Red: You would apply a tourniquet to a torso wound.
If you are Yellow or Red, execute Phase 1 immediately.
Phase 1: The Essential Actions
Goal: Learn what CERT volunteers actually do first.
Unit 3 keeps the scope deliberately narrow, focusing on the most essential actions: moving someone away from ongoing danger, stopping life-threatening bleeding, positioning the injured so they can breathe, keeping them warm, and providing comfort. The mission is to provide the greatest good for the greatest number, and everything in the unit serves that goal.
The Takeaway: Five moves, in that order. The discipline of disaster medicine is refusing to skip ahead to complicated care while the basics are unhandled.
Phase 2: Bleeding Control
Goal: Understand the blood-loss clock.
Severe blood loss leads to irreversible shock, and the manual teaches the four stages: Stage 1 is a loss of less than 15 percent of blood volume, where the patient appears normal with a slightly increased heart rate. Stage 2 is 15 to 30 percent, where the body compensates but the patient may appear agitated or anxious as vital signs rise. Stage 3 is 30 to 40 percent, where the patient can no longer compensate, appears confused, and without treatment slides into irreversible shock. Stage 4 is more than 40 percent. Signs of life-threatening bleeding include spurting or steady bleeding, blood pooling, blood soaking through overlying clothes or bandages, and amputation.
Direct pressure is the first treatment, applied until EMS arrives. If bleeding cannot be stopped with direct pressure and professionals are delayed, a tourniquet may be a viable option to save a person from bleeding to death. Tourniquets have been used effectively in combat for wounded extremities (arms or legs) and are increasingly used by uniformed responders in civilian emergencies.
The Takeaway: Bleeding is the fastest reversible killer, and the stages give you a visual clock. A confused patient with pooling blood is already in Stage 3, which means the pressure you apply right now is the whole game.
Phase 3: Airway and Positioning
Goal: Keep the airway open without specialized equipment.
When a patient is unconscious and you suspect an airway obstruction, clear the airway using the jaw-thrust maneuver: kneel above the patient’s head, put one hand on each side of the head with thumbs near the corners of the mouth pointed toward the chin, using your elbows for support, and slide your fingers into position under the angles of the jaw to push it forward. The manual pairs this with the other essentials: position the injured so they can breathe, keep them warm to fight shock, and provide comfort, because a calm patient consumes less oxygen and makes better decisions.
The Takeaway: Airway, warmth, reassurance. None of it requires equipment, and all of it works at the moment that matters: the minutes before help arrives.
The Essential Kit Checklist
- The Pressure Dressings: Multiple sterile dressings plus bandage material for sustained direct pressure.
- The Tourniquet: A commercial tourniquet in the kit, with training from a first aid course on when and how.
- The Gloves: Nitrile gloves, because responders protect themselves first.
- The Blanket: One to keep patients warm, since shock management starts with body temperature.
- The Training: A certified first aid and CPR course booked, because reading is not practice.
Scenario Planner (Contingencies)
“The bleed looks minor but the patient is confused.” The trap: treating the visible wound instead of the patient. The fix: the four stages tell you confusion signals 30 to 40 percent blood loss, a Stage 3 emergency. Escalate pressure immediately and get help moving.
“No tourniquet, nothing to work with.” The trap: improvising without training. The fix: direct pressure until EMS arrives remains the primary treatment, and a trained volunteer with hands and cloth outperforms an untrained one with hardware.
Next Steps
- Re-run the Readiness Audit. Scroll back to the top, answer the three questions honestly, and close whichever gap they reveal before you close this tab.
- Print the checklist. The kit list above only works if it exists when the power is out, so paper beats apps here.
- Fold it into the family plan. A prepared household beats prepared person, so put these steps in front of everyone who shares your roof.
Next: Read Disaster Medical Operations: Treatment Areas for Unit 4’s head-to-toe assessments and mass casualty organization.
Adapted from FEMA - CERT Basic Training (public domain). Read the original: CERT Basic Training Participant Manual (2019).