Prepping for a volcanic eruption (Part 4): The evacuation
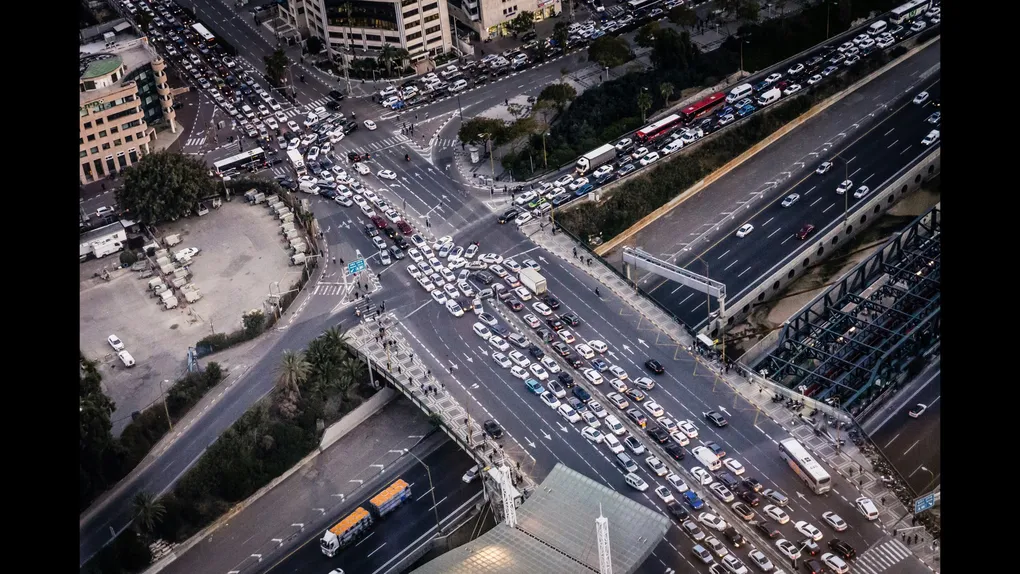
The two families on the same road responded to the same unrest bulletin in opposite ways. One packed the go-bag that had been sitting in the closet since the last false alarm, called the cousins who lived upwind, and left that afternoon. The other decided to wait and see, because the mountain had grumbled before. Three days later the first family watched the eruption on the news from a kitchen table a hundred miles away. The second family spent their eruption in a gridlocked evacuation line, ash on the windshield, a respirator apiece, and the specific regret of people who had a warning and spent it watching.
When a volcano shows signs of unrest, the clock starts. Evacuating early, before the roads clog and the ash falls, is the difference between a calm departure and a desperate flight.
Caution: The “Wait and see” trap. People delay evacuation, wanting to “see what happens.” But once the eruption begins, the roads clog with traffic and ash, and the pyroclastic flows and lahars give no time to escape. The evacuation must happen before the eruption. This is Part 4 of the volcano series.
Disclaimer: The information provided in this article is for general informational and educational purposes only. It is not intended as, and should not be considered, professional or geological advice. Always follow the instructions of local authorities and volcano observatories.
The Readiness Audit
Would you evacuate early, or wait and see?
- Green: You have a go-bag packed, a destination identified, and you’d leave the moment an evacuation order is issued.
- Yellow: You’d wait to “see what happens” before deciding to leave.
- Red: You have no go-bag, no destination, and no plan.
If you are Yellow or Red, execute Phase 1 immediately.
Phase 1: The Early Departure (Why Timing Matters)
Goal: Understand why you evacuate early.
- The warning: volcanoes give days of warning, seismic activity, ground swelling, gas emissions, and official alerts.
- The window: that warning is your window to leave calmly, before the roads clog and the ash falls.
- The trap: waiting to “see what happens” wastes the window. Once the eruption begins, evacuation becomes slow, dangerous, or impossible.
The Takeaway: Evacuate early. A calm departure beats a desperate flight every time.
Phase 2: The Go-Bag (What to Take)
Goal: Pack what you need before you need it.
- The protection: N95 respirators and sealed goggles for every family member.
- The water: several days of water per person.
- The meds: prescription medications and a first-aid kit.
- The documents: IDs, insurance papers, and important documents in a waterproof pouch.
- The supplies: food, a flashlight, a battery radio, and a phone charger.
The Takeaway: A go-bag packed in advance is a go-bag you can grab in seconds. Pack it now.
Phase 3: The Destination (Where to Go)
Goal: Identify your evacuation destination in advance.
- The direction: evacuate away from the volcano, out of the pyroclastic flow and lahar zones, and upwind of the ashfall if possible.
- The destination: a friend or family member’s home outside the hazard zone, or a designated evacuation shelter.
- The route: map the route, and identify a backup in case the primary is blocked.
The Takeaway: A destination you’ve identified in advance is a destination you can reach. An improvised one is a gamble.
Phase 4: The Departure (What to Do)
Goal: Execute the evacuation correctly.
- The trigger: leave the moment an evacuation order is issued for your zone.
- The vehicle: drive carefully, ash on the road reduces traction. Drive slowly and keep your distance.
- The protection: wear respirators and goggles if ash is falling.
- The route: follow your pre-mapped route, and avoid river valleys (lahar paths).
The Takeaway: Leave early, drive carefully, and stay out of the valleys.
The Essential Kit Checklist
- The go-bag: packed with respirators, goggles, water, meds, and documents.
- The destination: identified and confirmed with your host.
- The route: mapped, with a backup route.
- The alerts: signed up for volcano observatory alerts.
- The drill: run a family evacuation drill this season.
Scenario Planner (Contingencies)
“The roads are clogged with evacuees.” The trap: panicking in traffic. The fix: this is why you evacuate early. If you’re caught in traffic, stay calm, keep your respirator on, and follow your backup route. The early evacuees are the ones who avoid the jam.
“I don’t have a place to go.” The trap: staying because you have no destination. The fix: identify a designated evacuation shelter in advance, or arrange with a friend or family member outside the hazard zone. A shelter is better than staying in a pyroclastic flow zone.
Next Steps
- Pack the go-bag this weekend. Respirators, goggles, water, meds, documents in a waterproof pouch. One bag per person, staged at the door.
- Call the destination now. The cousin upwind, the friend out of zone: a confirmed bed beats a shelter guess, and a backup route gets mapped the same evening.
- Read Part 5: Surviving the ashfall next, for the households that cannot evacuate, the sealed-house skills that turn a gray sky into a survivable week.
Originally adapted from public USGS volcano-response guidance (public domain).