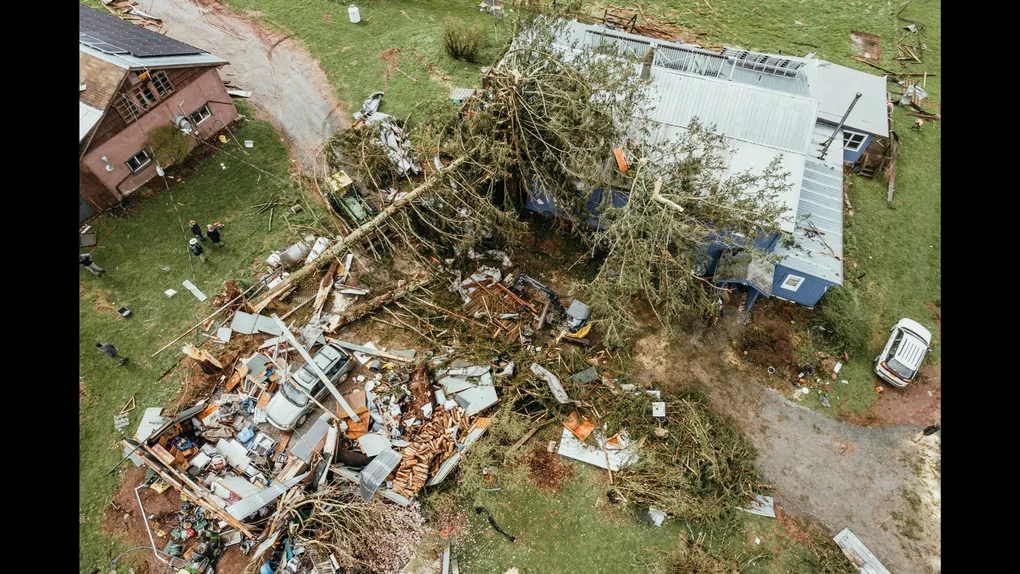
Prepping for a tornado (Part 2): The safe room
The living-room debate that cost a family their warning window was three sentences long: “Basement?” “Is it flooded?” “Where are the flashlights?” The tornado was not waiting for consensus. When the warning sounds, you have minutes, sometimes seconds. You cannot improvise a shelter in that time. The safe room must already exist, and every member of your family must already know the route to it.
Caution: The “Basement” assumption. A basement is great, but only if you’re in it. The real killer is indecision, families who freeze in the living room debating where to go. Pre-designate the room, drill the route, and make it muscle memory.
Disclaimer: The information provided in this article is for general informational and educational purposes only. It is not intended as, and should not be considered, architectural or emergency-response advice. Always follow the instructions of local authorities during an active tornado event.
The Readiness Audit
Do you know exactly where you would go right now if a warning sounded?
- Green: You have a pre-designated interior room, a stocked shelter kit, and you’ve drilled the route with your family this season.
- Yellow: You have a vague idea (“the basement, I guess”) but no stocked kit and no drill.
- Red: You live in a mobile home and plan to “ride it out.”
If you are Yellow or Red, execute Phase 1 immediately.
Phase 1: Choosing the Safe Room
Goal: Identify the strongest point in your home.
The rule is simple: get low, get in, get under. The ideal shelter has three qualities:
- Lowest: the lower you are, the less wind and debris you face. A basement or storm cellar is best.
- Most interior: put as many walls between you and the outside as possible. An interior closet, bathroom, or hallway on the ground floor.
- No windows: windows shatter into missiles. A windowless interior room is non-negotiable.
The bathroom bonus: an interior bathroom is often the best ground-floor option because the plumbing in the walls adds structural reinforcement, and the bathtub provides a hard shell to shelter under.
The Takeaway: If you have no basement, the ground-floor interior closet or bathroom is your safe room. Designate it now, not during the storm.
Phase 2: Stocking the Shelter
Goal: Make the safe room self-sufficient for the hours after the storm.
- The helmet: a bike or construction helmet for each person, the single best debris protection.
- The shoes: sturdy shoes, because you’ll walk over broken glass and nails after.
- The light: a flashlight or headlamp with fresh batteries.
- The whistle: to signal rescuers if you’re trapped under debris.
- The blanket: a heavy blanket or mattress to pull over yourself as a debris shield.
- The radio: your NOAA weather radio, to know when the all-clear is given.
The Takeaway: A stocked shelter is the difference between surviving the storm and surviving the aftermath.
Phase 3: The Mobile Home Problem
Goal: Understand the single most dangerous housing type.
Mobile homes are death traps in tornadoes. Even an EF1 tornado can roll one over, and an EF2 will destroy it outright. There is no “safe room” inside a mobile home.
- The rule: if you live in a mobile home, you evacuate before the storm. A tornado watch is your cue to move to a sturdy building or a designated community storm shelter.
- The plan: identify your evacuation destination now, a neighbor’s basement, a community shelter, a sturdy public building. Know the route and the drive time.
- The timing: leave when a watch is issued, not when the warning sounds. By the time the warning comes, it may be too late to drive.
The Takeaway: In a mobile home, the safe room is somewhere else. Plan the evacuation before the sky turns green.
Phase 4: The Overpass Myth
Goal: Know what NOT to do if you’re caught outside.
If you’re caught in your car during a tornado, the instinct is to shelter under a highway overpass. This is one of the most dangerous myths in storm safety.
- The reality: an overpass acts as a wind tunnel, accelerating the wind and channeling debris directly at you. People have been killed sheltering under overpasses.
- The better option: if you can’t reach a sturdy building, abandon the car and lie flat in a low ditch or culvert, covering your head. It’s not ideal, but it’s far safer than an overpass.
- The best option: never be caught outside. Heed the watch, and don’t drive into a warned area.
The Takeaway: An overpass is a wind tunnel, not a shelter. A ditch is better. A sturdy building is best.
The Essential Kit Checklist
- The room: designate your interior, windowless safe room and clear it of clutter.
- The helmets: one bike or construction helmet per family member, stored in the shelter.
- The shoes: sturdy shoes stored in the shelter.
- The kit: flashlight, whistle, blanket, and NOAA radio in the shelter.
- The drill: run a family drill this month, from the living room to the shelter in under 60 seconds.
- The mobile home plan: if applicable, identify your evacuation destination and drive time.
Scenario Planner (Contingencies)
“I live in a mobile home and there’s no community shelter nearby.” The trap: assuming you have no options. The fix: make a standing arrangement with a neighbor who has a basement or a sturdy home, and agree to shelter there. A pre-arranged plan beats an improvised one every time.
“The warning came and my kids froze.” The trap: assuming everyone will react calmly. The fix: drill it. Run the shelter drill until it’s boring. In a crisis, muscle memory overrides panic, but only if you’ve built the muscle memory first.
Next Steps
- Name the safe room tonight and walk the route from the rooms your family actually occupies after dark.
- Stock the shelter this weekend with helmets, shoes, light, whistle, blanket, and the NOAA radio.
- Read Part 3: The warning window next, for the alert system that wakes you and the thirteen-minute protocol that follows.
Originally adapted from public NOAA and National Weather Service guidance (public domain).