Prepping for a hurricane (Part 2): Home hardening
The contractor who boarded up our windows before the last big storm told me something that reorders the whole hurricane conversation. He said the wind almost never knocks a house down from outside. What kills the house is the moment a window or a garage door gives way. Then the wind gets inside, the internal pressure climbs, and the roof lifts off like a cork. The house does not get blown over, he said. It gets blown up.
That is the engineering story behind this part of the series: structural failure is a breach-and-pressurize event. It rarely happens because the wind pushes the house over. It happens because the envelope (a window or door) is breached, and internal pressure blows the roof off from the inside.
When a named storm enters the cone of uncertainty, the line at the hardware store becomes a battlefield. Plywood sells out in hours. Contractors disappear. This is Part 2 of the hurricane series, and it is about doing that work calmly, correctly, and months ahead, in the window the old-timers call blue-sky preparation.
Disclaimer: The information provided in this article is for general informational and educational purposes only. It is not intended as, and should not be considered, professional or architectural advice. Always consult a structural engineer for specific guidance on your property.
The Readiness Audit
Is your home a fortress or a house of cards?
- Green: You have impact-resistant windows or pre-cut, labeled storm shutters or plywood ready to deploy. Your garage door has a vertical bracing system.
- Yellow: You have a stack of plywood in the shed, but it is not cut to size, and you do not have the screws to hang it.
- Red: You plan to tape the windows if a storm comes (which is a dangerous myth).
If you are Yellow or Red, execute Phase 1 immediately.
Phase 1: Securing the Windows and Doors
Goal: Prevent the wind from entering the structure.
The Myth of Tape
- The Trap: Putting masking tape or duct tape on windows.
- The Reality: Tape does nothing to strengthen the glass. It simply creates larger, deadlier shards of flying glass when it breaks. Never tape windows.
Impact Windows vs. Shutters
- Impact windows: the gold standard. Bullet-resistant glass that requires no deployment. Expensive, but permanent.
- Storm shutters: corrugated metal or polycarbonate panels. Highly effective, but they require physical effort to install.
The Plywood Protocol (The DIY Standard)
If you are using wood, you must do it right.
- Material: use 5/8-inch exterior-grade plywood. Thinner wood will snap.
- The blue-sky task: do not wait for the rain.
- Measure and cut: cut the sheets to fit every window now.
- Label: spray-paint the location on the back of each sheet (like “Master Bed North”).
- Pre-drill: install permanent anchors (like barrel bolts or PanelMates) in the exterior wall now. Trying to hold a heavy sheet of wood while drilling into concrete during 40 mph gusts is impossible.
The Takeaway: The battle for the windows is won on a calm Saturday, not a storm day. Cut, label, and anchor long before the cone appears.
Phase 2: The Achilles Heel (The Garage Door)
Goal: Reinforce the largest opening in your house.
The failure point: in nearly 80% of catastrophic wind damage cases, the garage door fails first. The wind pushes the flimsy metal door in, pressurizes the garage, and blows the roof off the house.
The fix, vertical bracing:
- Retrofit kits: buy a garage door bracing kit. These are heavy aluminum or steel posts that lock into the floor and the header above the door.
- The DIY version: you can use 2x4 lumber and heavy-duty brackets to create a similar vertical brace.
- The rule: if you do not have a bracing system and a Category 3-plus is coming, back your car up against the door inside the garage to act as a physical backstop, though this is less effective than a brace.
The Takeaway: The garage door is the weakest wall in the house, and it fails in most homes that fail. Bracing it is the single highest-leverage hardening project.
Phase 3: The Missile Audit (Landscaping)
Goal: Eliminate projectiles, because in 100 mph winds a patio chair is a cannonball.
The Yard Sweep
- Action: walk your property. Identify anything loose: grills, potted plants, trampolines, bird feeders, patio furniture.
- The plan: you need a dedicated space in the garage or shed to store these items. If they cannot be moved (like a trampoline), they must be anchored into the ground with heavy-duty augers.
The Canopy Check
- The threat: dead branches or heavy canopies act as sails.
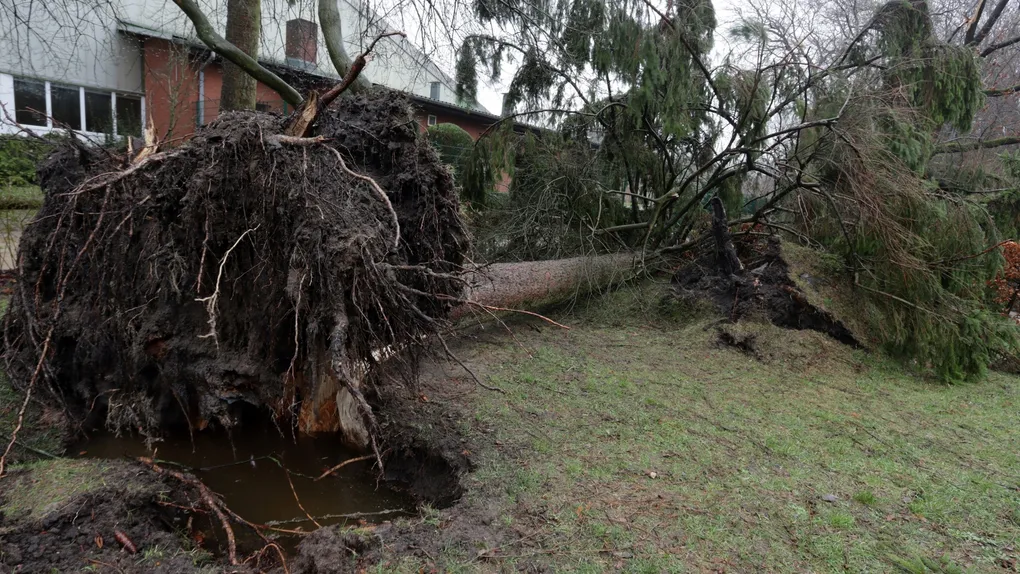
- The fix: trim trees before hurricane season. Thinning the canopy allows wind to pass through the tree rather than pushing it over. Remove any branches that overhang your roof.
The Takeaway: Your yard becomes a munitions depot in hurricane winds. Everything loose is either stored or anchored, and every overhanging branch is scheduled for removal.
The Essential Kit Checklist
- The wood: 5/8-inch plywood cut and labeled for every window.
- The hardware: anchors or barrel bolts installed on window frames.
- The garage brace: a vertical bracing kit purchased and tested.
- The tools: a cordless drill with fully charged spare batteries.
- The anchors: heavy-duty ground anchors for trampolines and sheds.
Scenario Planner (Contingencies)
“I ran out of plywood and the store is empty.” The trap: last-minute panic shopping. The fix: the safe room. If you cannot secure the windows, you must secure yourself. Identify a small interior room with no windows (closet or bathroom) on the lowest floor. Drag a mattress in there. That is your storm bunker.
“My HOA won’t let me install permanent shutters.” The trap: aesthetic rules compromising safety. The fix: the deployable anchor. Use flush-mounted anchors (PanelMates). When the shutters are down, all you see is a tiny silver screw head flush with the wall. Most HOAs accept this.
Next Steps
- Do the tape-check on your own assumptions. If taping windows is anywhere in your family’s plan, delete it tonight and replace it with the plywood protocol.
- Walk out to the garage door and look up. If there is no vertical bracing, that is your biggest structural gap, and kits ship in a day.
- Read Part 3: The logistics chain next, because a hardened house still needs water, food, and power to live in, and the blackout is where most families actually get hurt.
Originally adapted from public FEMA wind-hardening guidance (public domain).