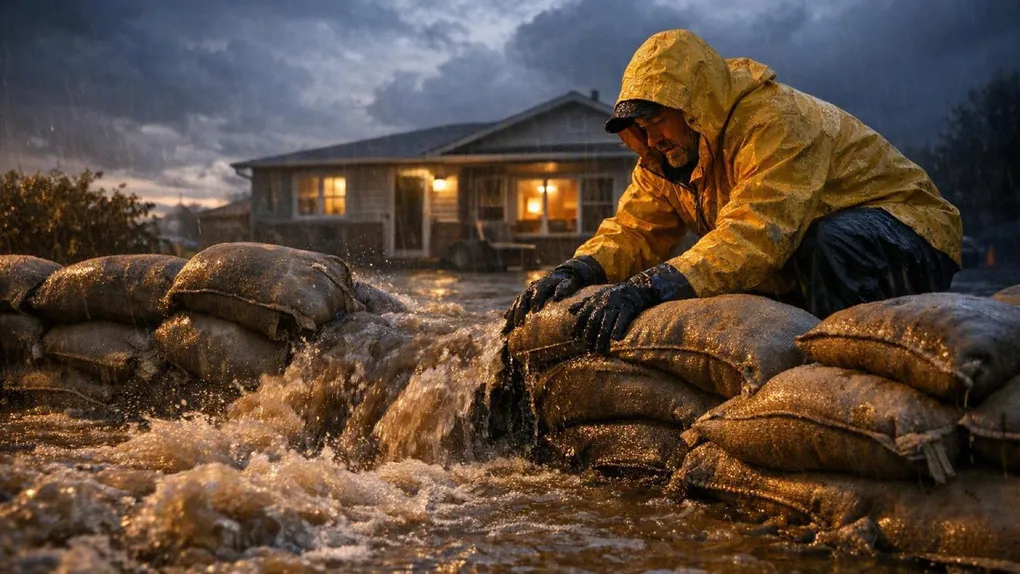
Prepping for a flood (Part 5): Breach response
Sometimes, the water rises faster than the warning. Or perhaps you chose to stay, and now the creek is in your yard. The time for evacuation has passed, the time for defense has begun. There is a specific hour in every serious flood that nobody photographs: the one where it becomes clear the water is coming in, and the people inside shift from hoping to working. The neighbors who made it through that hour well all describe the same feeling. Not bravery. A list. They knew the order of things, they moved down the list, and the list kept them from making the one mistake that turns an inconvenience into a catastrophe.
The mistake is usually electricity. The second is usually pride, as in trying to save everything. This is Part 5 of the flood series, and it covers the hour I hope you never need: the water is rising faster than the warning, evacuation time has passed, and the job is now defense. Even when the water is rising, you are not helpless. A specific imminent-threat protocol, utilities first, barriers second, possessions third, sanitation last, minimizes the damage and keeps the siege survivable.
Disclaimer: The information provided in this article is for general informational and educational purposes only. It is not intended as, and should not be considered, professional or emergency-response advice. Always follow the instructions of local authorities during an active flood event.
The Readiness Audit
The news says the river is cresting in 2 hours. What is your move?
- Green: You have sandbags ready with a tarp, your bathtub is filled with clean water, and you know exactly which breaker shuts off the basement power.
- Yellow: You are moving boxes upstairs, but you have not thought about how you will flush the toilet if the sewer backs up.
- Red: You are panicking, watching the water rise through the sliding glass door.
If you are Yellow or Red, switch to action mode immediately.
Phase 1: The Utility Kill Switch (Safety First)
Goal: Prevent fire and electrocution. Before the water enters the structure, you must kill the grid.
- Electricity: Turn off the main breaker only if you can do so safely.
- Caution: if the floor is already damp or you have to stand in water to reach the panel, do not touch it. Electrocution is an instant killer. Leave it alone and get to higher ground.
- Gas: If instructed by authorities or if you smell gas, turn off the main gas valve. You will likely need a wrench. Once gas is off, a professional must turn it back on.
- Water: Shut off the main water valve to prevent contaminated floodwater from entering your internal pipes if pressure drops.
The Takeaway: Dry hands, dry floor, main breaker. Anything less safe than that is a job for the fire department, not you.
Phase 2: The Barrier Defense (Sandbags 2.0)
Goal: Slow the intrusion. Simply stacking sandbags is often ineffective. Use the tarp-and-wrap method for a better seal.
- The Layer: Lay a heavy plastic tarp on the ground outside the door, running it up the door about 3 feet.
- The Base: Place the first row of sandbags on top of the tarp edge.
- The Stack: Pyramid the bags up.
- The Seal: The weight of the water will push the tarp against the door or wall, creating a much tighter waterproof seal than bags alone.
The Takeaway: The tarp does the sealing, the bags do the weighting. Bags alone are a speed bump made of sand.
Phase 3: The Vertical Shift (Save the Criticals)
Goal: Sacrifice the cheap stuff to save the irreplaceable stuff. You cannot save everything, so triage your possessions.
- Tier 1 (Life and Legacy): Move prescriptions, hard drives, photo albums, and legal documents to the highest shelf or second floor immediately.
- Tier 2 (Electronics): Unplug computers and TVs. Place them on beds or countertops.
- Tier 3 (Rugs and Furniture): Roll up rugs and place them on tables. Put aluminum foil or plastic blocks under furniture legs to prevent water wicking up into the wood.
The Takeaway: Triage by replaceability. The photo album you cannot rebuy goes up first, the sofa can sit in a foot of water and still be a sofa.
Phase 4: The Sanitation Reserve (Water and Waste)
Goal: Secure clean water before the municipal supply is contaminated. Floodwaters often breach treatment plants, meaning the tap water becomes toxic.
- Fill the Tub: Scrub your bathtub with bleach, rinse it, and fill it to the brim with cold water.
- Purpose: This is your reservoir. You can use it for washing, hygiene, or (if boiled or filtered) drinking.
- The Toilet Trap: If sewers back up, toilets become fountains of raw sewage.
- The Fix: Stuff a towel into the toilet bowl and weigh it down with a heavy sandbag or bucket of water to hold back the pressure. Do not flush.
The Takeaway: The two most valuable things in a flooded house are clean water and a sealed toilet. Both take five minutes to arrange before the water arrives.
The Essential Kit Checklist
- The Water Reserve: Bathtub and sinks filled.
- The Power Cut: Main breaker flipped (if dry).
- The Elevation: Rugs rolled, electronics moved high.
- The Plug: Toilet lids weighed down or sewer plugs installed.
- The Escape Tool: An axe or heavy tool placed in the attic (just in case you are forced up).
Scenario Planner (Contingencies)
“I’m trapped on the second floor and the water is rising.” The trap: the attic tomb. The fix: roof access. Do not go into a closed attic unless you have a way out. If you go up, bring a heavy tool (axe or sledgehammer) to cut through the roof. Ideally, go to a window that opens onto a roof section.
“I hear a hissing sound.” The trap: gas leak. The fix: evacuate immediately. Do not turn on lights or use a flashlight (sparks). Get out of the structure and get upwind.
Next Steps
- Walk your kill-switch path today. From wherever you usually stand to the main breaker, with your eyes closed. If that path crosses the basement floor, know the danger point.
- Stage the siege kit. Tarp, sandbags, towel-and-weight for the toilet, bleach for the tub. One plastic bin, garage shelf, labeled.
- Read Part 6: In the water next, for the survival protocols when defense fails and you or your car end up in the current.
Originally adapted from public FEMA flood response guidance (public domain).